Make a HackerNews Automation Pipeline

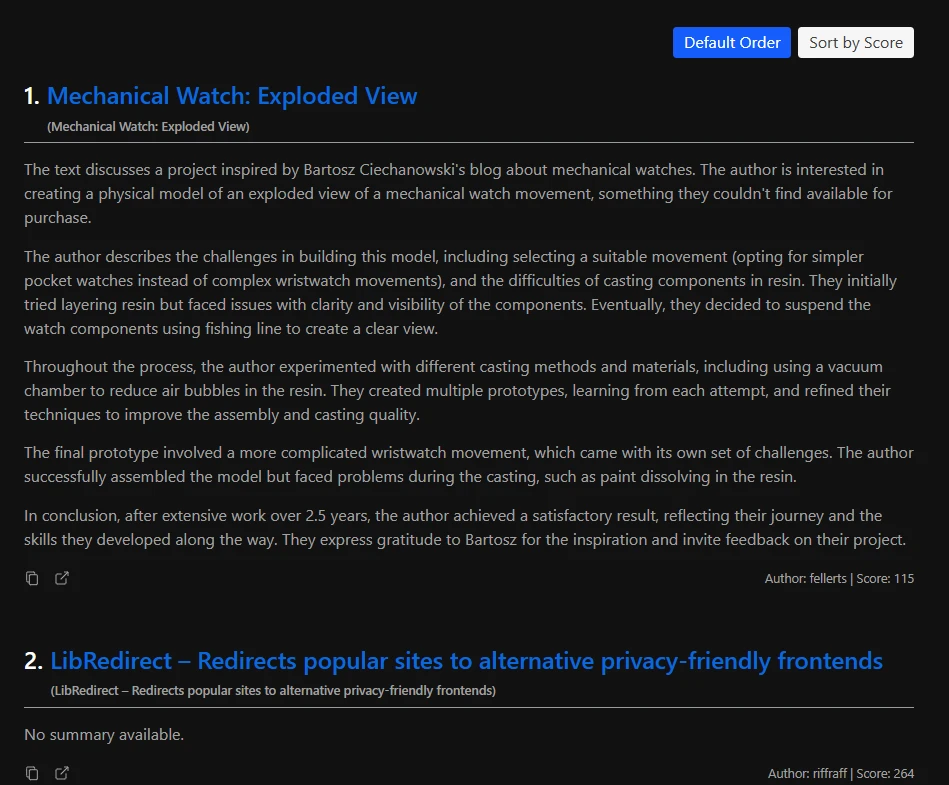
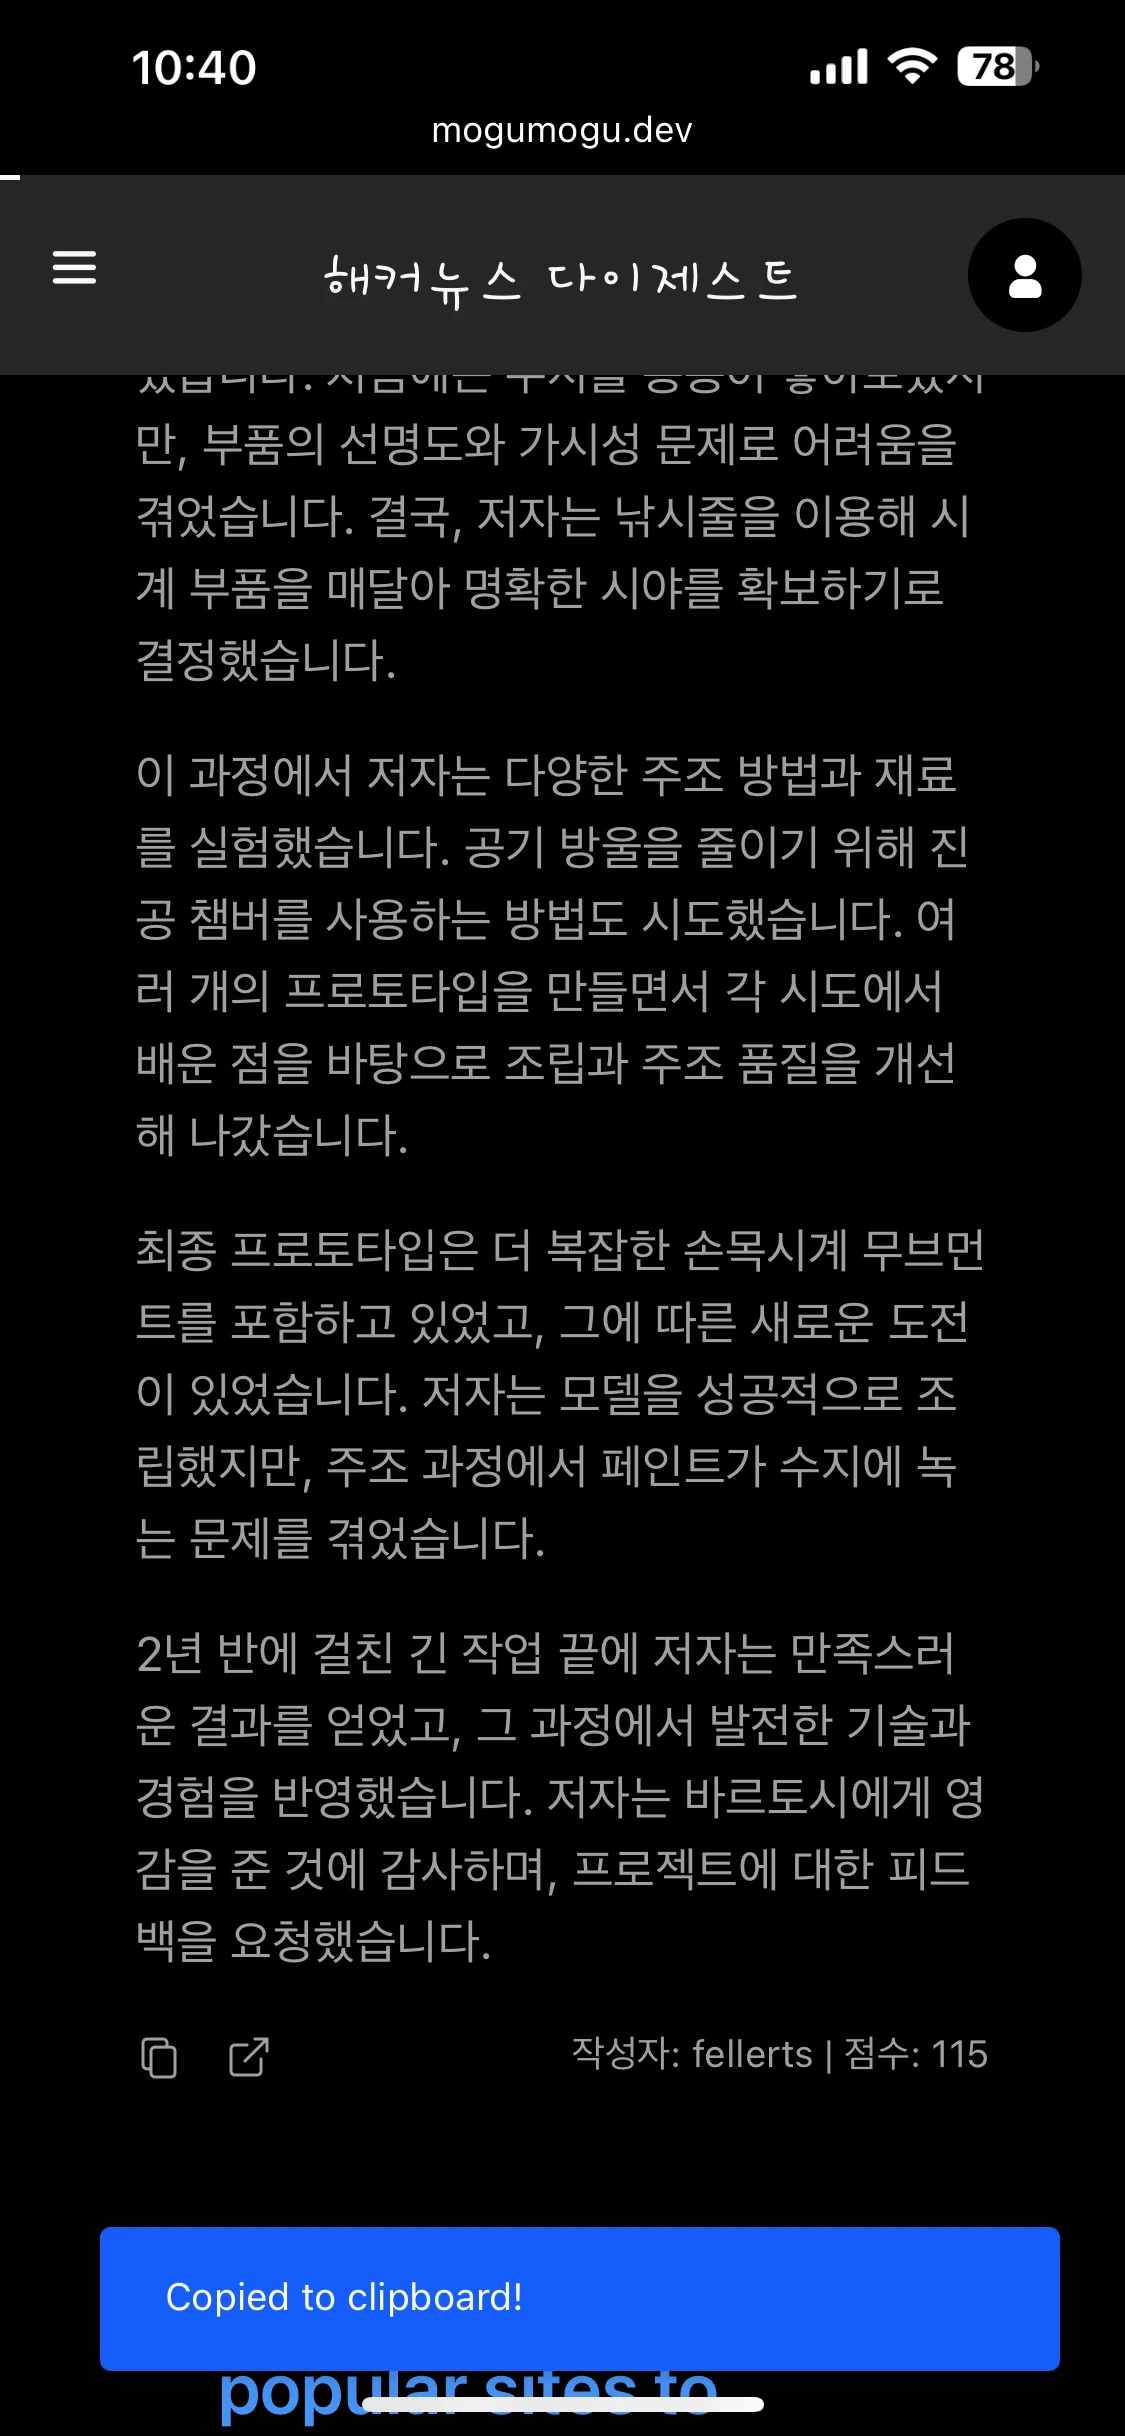
I created a pipeline that automates the process of crawing, summarizing, translating HackerNews daily top 100.
These results are published on my blog daily at 01:00 KST (Korean Standard Time).
This pipeline works by this process:
- Fetching: Retrieves the top 100 stories from Hacker News and saves the results to Cloudflare R2.
- Crawling: Uses Playwright to crawl the content of each story.
- Summarizing: Summarizes the content using the OpenAI API.
- Translating: Translates the summary into Japanese and Korean using the OpenAI API.
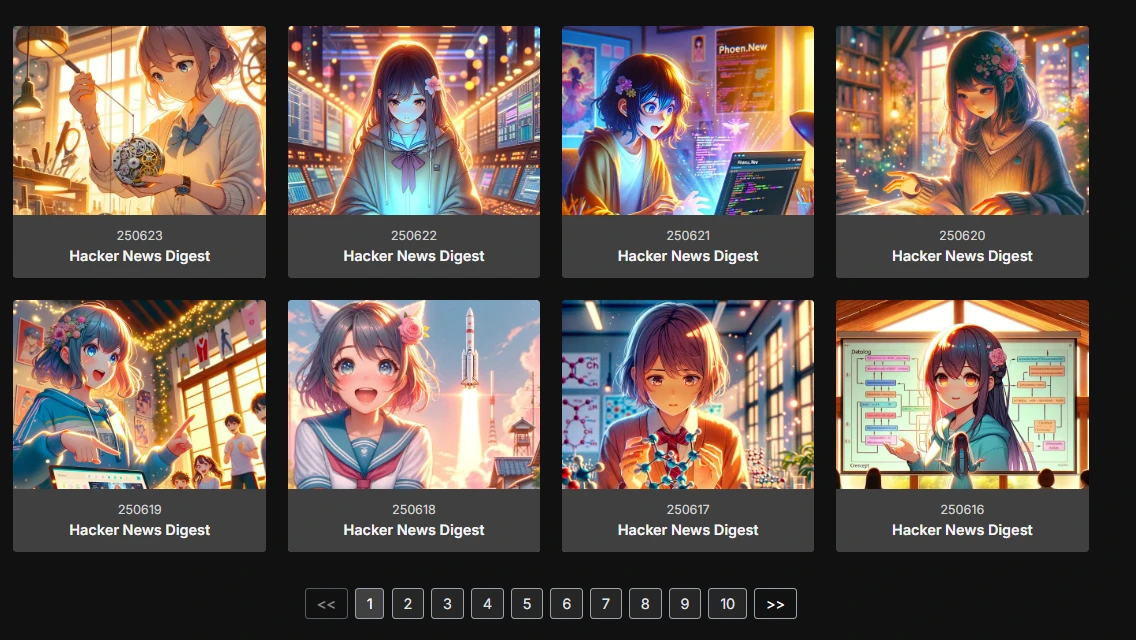
- Drawing: Generates a main illustration using the DALL·E API.
- Publishing: Publishes the final material to the blog daily at 01:00 KST using GitHub Actions and Ansible.
With mermaid diagram, the process looks like this:

Why I Made This?
When I commute to work, I often read Hacker News to stay up-to-date with the latest tech trends. Since I didn't major in computer science, I sometimes struggle to understand all the technical terms and concepts. Still, I believe it's important to stay informed, so I make an effort to read it every day. Recently, I realized that tech content delivered in Japanese or Korean tends to lag behind what's shared on Hacker News. In many cases, the information is outdated, and it's hard to access the latest updates in my native language.
That’s why I read Hacker News in English during my commute. Although I can understand the articles, I don’t read English as quickly as I read Korean, my native language. So I thought it would be helpful to have a daily summary of the top stories in Korean. Some people might say that reading speed is just a matter of practice, but I know I can read much faster in my native language. Even though I read Japanese light novels every day, I still can’t read Japanese as quickly as Korean. Friends of mine in Portugal and Canada agree — reading in your native language is always faster and more comfortable than reading in a foreign one.

After building this pipeline, I’ve been able to read the top Hacker News stories in my native language more quickly every day. I also added a convenient copy button, so I can easily ask ChatGPT or Claude whenever I come across something I don’t understand in the summary.
How I Implemented It
In the following sections, I’ll explain how I built this pipeline using my own code. The entire system is written in Node.js and TypeScript, and every part of the pipeline is implemented as a Next.js API route.
1. Fetching
I fetch the top 100 stories from Hacker News using the Hacker News API. First, I retrieve all the top story IDs, then fetch the details for each story in parallel. The results are stored in Cloudflare R2, which serves as object storage for this pipeline. This step is relatively simple, as it mainly involves calling external APIs and formatting the results.
// Fetch the list of top story IDs from Hacker News
logMessage("🔄 Fetching new data from HackerNews API...");
const topStoriesRes = await fetch(`${HN_API_BASE}/topstories.json`);
const topStoryIds: number[] = await topStoriesRes.json();
const top100Stories = topStoryIds.slice(0, 100);

// Fetch detailed information for each story (parallel requests)
const newsPromises = top100Stories.map(async (id) => {
  const newsRes = await fetch(`${HN_API_BASE}/item/${id}.json`);
  const newsData = await newsRes.json();
  const cleanedTitle = newsData.title ? cleanHNTitle(newsData.title) : null;

  return {
    id: generateUUID(newsData.title),
    hnId: newsData.id,
    title: {
      en: cleanedTitle,
      ko: null,
      ja: null,
    },
    type: newsData.type,
    url: newsData.url ?? null,
    score: newsData.score ?? null,
    by: newsData.by ?? null,
    time: newsData.time ?? null,
    content: newsData.text ?? null,
    summary: {
      en: null,
      ko: null,
      ja: null,
    },
  };
});
2. Crawling
I fetch the main content of each story using Playwright, a browser automation library. I defined a set of common CSS selectors—such as <article>, <div>, and <main>—to extract the primary content from the page. If none of these selectors return meaningful content, I fall back to parsing <section> elements instead.
// General case
const selectors = [
  "article",
  "div#content",
  "div.content",
  "div#post-content",
  "div.content-area",
  "div#main",
  "div.main",
  "div.prose",
  "div.entry",
  "div.bodycopy",
  "div.node__content",
  "div.essay__content",
  "main",
];

for (const selector of selectors) {
  const el = document.querySelector(selector);
  if (el) return el.textContent || "";
}

// <section> fallback
const sections = document.querySelectorAll("section");
if (sections.length > 0) {
  return Array.from(sections)
    .map((sec) => sec.textContent?.trim() || "")
    .join("\n\n");
}
For PDF files, I use pdfjs-dist to extract the text. Since the OpenAI API has token limits, I slice the content into chunks of up to 15,000 tokens. To do this efficiently, I apply a binary search algorithm to find the maximum content length that fits within the token constraint.
// Binary search
while (start <= end) {
  const mid = Math.floor((start + end) / 2);
  const currentText = text.slice(0, mid);
  const currentTokenCount = await countTokens(currentText);

  console.log(`Words (mid): ${mid}, Tokens: ${currentTokenCount}`);

  if (currentTokenCount === maxTokens) {
    return currentText;
  } else if (currentTokenCount <= maxTokens) {
    start = mid + 1;
  } else {
    end = mid;
  }
}
Once the content is extracted, I store it temporarily in Redis. On localhost, I run Redis using the redis:latest Docker image. In production, Redis runs inside ECS (Elastic Container Service). I use Redis to buffer content while processing, and then flush it to Cloudflare R2 after all stories are completed. This helps prevent race conditions when multiple pipeline instances are running concurrently.
for (const [idx, item] of toFetch.entries()) {
  fetchQueue.add(async () => {
    try {
      logMessage(`[${idx + 1}/${toFetch.length}] Fetching: ${item.id}...`);
      let content = null;

      if (item.url.includes(".pdf")) {
        content = await fetchPdfContent(item.url);
        logMessage(`📄 PDF content extracted for ${item.url}`);
      } else {
        content = await fetchContent(item.url);
        logMessage(`🌐 Smart content fetched for ${item.url}`);
      }

      if (content) {
        content = await sliceTextByTokens(content, 15000);
        logMessage(`📄 Sliced content (up to 15000 tokens)`);
      }

      // Use Redis to store the content temporarily
      if (content) {
        await redis.set(`content:${item.id}`, content, "EX", 60 * 60 * 24);
      }
      logMessage(`[${idx + 1}/${toFetch.length}] ✅ Done: ${item.id}`);
    } catch (error) {
      logMessage(
        `[${idx + 1}/${toFetch.length}] ❌ Error: ${item.id} (${error})`,
      );
    }
  });
}
3. Summarizing / Translating
I use the OpenAI API to summarize and translate the content. Since I’m a poor developer, I rely on the gpt-4o-mini model instead of the full gpt-4o. 😢
The summarizing and translating steps follow the same structure as the content fetching process. Temporary results are saved in Redis and later flushed to Cloudflare R2 after all stories are processed.
// summary translation
if (
  item.summary &&
  item.summary.en &&
  (!item.summary.ja || item.summary.ja === "")
) {
  translateQueue.add(async () => {
    try {
      logMessage(
        `[ja][summary][${idx + 1}/${toTranslateJa.length}] Translating summary: ${item.id}...`,
      );
      const translated = await translate(item.summary.en, "ja", "content");
      await redis.set(`ja:summary:${item.id}`, translated, "EX", 60 * 60 * 24);
      logMessage(
        `[ja][summary][${idx + 1}/${toTranslateJa.length}] ✅ Done: ${item.id}`,
      );
    } catch (error) {
      logMessage(
        `[ja][summary][${idx + 1}/${toTranslateJa.length}] ❌ Error: ${item.id} (${error})`,
      );
    }
  });
}
4. Drawing
To make each blog post more visually appealing, I use the DALL·E API to generate a main illustration for every story. Initially, I wanted to use Stable Diffusion with LoRA, but I couldn’t find a cost-effective way to integrate it — so I decided to stick with DALL·E instead. I currently use the dall-e-3 model, and the prompt is generated based on the summary of each story. Since I love Japanese anime, I include "anime style" in the prompt to produce illustrations with that aesthetic.

The illustration style and subject are fixed to resemble a Japanese anime-style girl. I also use the top story's description from Hacker News to enrich the prompt.
const extractedKeywordsString = await keywords(date);
const extractedKeywords = JSON.parse(extractedKeywordsString);

const siteUrl = process.env.NEXT_PUBLIC_BASE_URL || "https://mogumogu.dev";
const res = await fetch(`${siteUrl}/prompts/picture-style.md`);
if (!res.ok) throw new Error("Style prompt fetch failed");
const stylePrompt = await res.text();
const styleKeywords = parseStylePrompt(stylePrompt);

const flattenedKeywords = {
  whatisInTheImage: flattenToArray(extractedKeywords.whatIsInTheImage),
  background: flattenToArray(extractedKeywords.background),
};

const fullPrompt = {
  style: styleKeywords.style,
  mood: styleKeywords.mood,
  perspective: styleKeywords.perspective,
  colors: styleKeywords.colors,
  additionalEffects: styleKeywords.additionalEffects,
  whatisInTheImage: flattenedKeywords.whatisInTheImage,
  background: flattenedKeywords.background,
};
As shown in the code above, I extract keywords with the keywords() function and parse them to build the fullPrompt object. This combined prompt is then sent to the DALL·E API to generate the final illustration.
5. Publishing
After going through steps 1 to 4 — fetching the top 100 stories, crawling the content, summarizing it, translating it, and generating illustrations — the final step is publishing everything to my blog.
Doing this manually would be time-consuming and inefficient. As developers, I believe we should always think in terms of automation. That’s why I use GitHub Actions and Ansible to fully automate the publishing process.
Every day at 01:00 KST (Korean Standard Time), GitHub Actions triggers an Ansible playbook that updates my blog with the latest results.
The role of Ansible here is simple: it updates the environment variables on my ECS instance, like the Redis host and port.
- name: Replace Redis value in .env.prod using Ansible
  uses: dawidd6/action-ansible-playbook@v2
  with:
      playbook: ansible/replace-env.yml
      directory: .
      inventory: |
      [web]
      ec2-snstance ansible_host=${{ secrets.AWS_EC2_HOST }} ansible_user=ubuntu ansible_ssh_private_key_file=/tmp/ci-key.pem
  env:
      REDIS_HOST: ${{ env.REDIS_HOST }}
      REDIS_PORT: ${{ env.REDIS_PORT }}
All backend logic — including summarizing and flushing data — is implemented in Next.js API routes.
For example, to summarize each story’s content, I call the corresponding API route via curl, and store the result temporarily in Redis:
- name: Summarize HackerNews content
  run: |
    RESPONSE=$(curl -s -X POST https://mogumogu.dev/api/hackernews/summarize \
    -H "Content-Type: application/json" \
    -H "Authorization: Bearer ${{ secrets.HACKERNEWS_API_KEY }}")
    echo "$RESPONSE"
    SUMMARIZE_TOTAL=$(echo "$RESPONSE" | jq '.total')
    echo "SUMMARIZE_TOTAL=$SUMMARIZE_TOTAL" >> $GITHUB_ENV
Once all summaries are generated, I flush the data from Redis to Cloudflare R2 for long-term storage:
- name: Summarize HackerNews content - Flush
  id: summarize-flush
  run: |
    for i in {1..5}; do
    RESPONSE=$(curl -s -X POST https://mogumogu.dev/api/hackernews/flush \
        -H "Content-Type: application/json" \
        -H "Authorization: Bearer ${{ secrets.HACKERNEWS_API_KEY }}" \
        -d "{\"type\": \"summarize\", \"total\": $SUMMARIZE_TOTAL}")
    echo "$RESPONSE"
    FLUSHED=$(echo "$RESPONSE" | jq '.flushed')
    if [ "$FLUSHED" -ge 1 ]; then
        echo "Summarize flush succeeded!"
        exit 0
    fi
    echo "Summarize flush not ready, retrying in 60s..."
    sleep 60
    done
    echo "Summarize flush failed after 5 attempts"
    exit 0
Which Points Can Be Improved?
So far, I’ve explained how I implemented this pipeline. But of course, there are several areas that can be improved. These are the things I plan to refine in the future.
1. I Can’t Crawl 100% of the Content
There are a few reasons for this:
- It's impossible to account for every structure and pattern used across different websites.
- Some sites use Cloudflare anti-bot protection, which blocks headless browsers like Playwright.
Improving my crawling logic — and learning how to handle anti-bot challenges better — is one of my top priorities.
2. Is Cloudflare R2 the Right Storage Solution?
Originally, this blog was built as a static site using JAMstack and hosted on Vercel. But serverless platforms are not a good fit for this kind of pipeline. So I migrated to AWS EC2, where I now run both the API server and database.
At first, I stored dynamic data like comments and likes in MongoDB Atlas, but I later switched to PostgreSQL because I wanted to deepen my understanding of relational databases.
Currently, the pipeline results (summaries, translations, etc.) are saved as JSON files in Cloudflare R2. But PostgreSQL supports JSON and JSONB types, and I already have a running PostgreSQL instance — so I don’t really need R2 anymore.
In the future, I plan to migrate all result data from R2 to PostgreSQL to simplify the architecture.
Conclusion
I built a fully automated pipeline that fetches, crawls, summarizes, translates, and illustrates the top 100 Hacker News stories every day. Thanks to this, I can now quickly read the most important stories in my native language.
I hope this project helps others as well—whether you're learning languages, tracking tech trends, or just love automation like I do.
I’ll continue improving this pipeline and will share updates in the future. If you have any questions or suggestions, feel free to leave a bug report at the bottom of my blog.
All the source code is open and available on 👉 my GitHub repository.
